When we order in any vegetarian restaurant then hyderabadi mirch ka Salan is one of the most popular and most ordered side dish. The same case is with me too. I love the nutty and slight tangy flavour in its gravy. So why always depend on restaurants or hotels to relish on your favorite dish. Let's give it a try at home too. This is even more hygienic and yummier than those. Though it is made in two ways, one with stuffed fry chillies and another without stuffing. Today I am having the recipe of another way i.e. Without stuffing. But believe me in both ways you will bound to lick your fingers. It's so delicious and with minimal spices yet extremely flavourful dish. Soon will come up with stuffed version too. Till then enjoy this one.
Step wise recipe is given below, do try and let me know your experience.
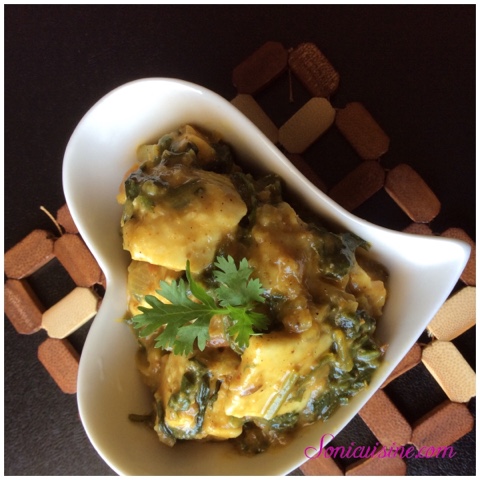
HYDERABADI MIRCH KA SALAN

Serves: 3-4
Time: 30 mins
Ingredients
4 fry chilies ( long and thick chilies without hotness), cut in half ( if too long)
2 medium size onions, finely chopped
2-3 green chilies, finely chopped
1 tsp ginger garlic paste
1/2 tsp mustard seeds
1/4 tsp asafetida ( heeng)
2-3 springs of fresh curry leaves
1/2 tsp turmeric powder
2 tsp Kashmiri red chili powder
1 tbsp tamarind paste
Salt to taste
Oil
For paste:
1/4 cup roasted peanuts
1/4 cup freshly grated coconut
2 tbsp roasted sesame seeds
2 tsp coriander seeds
1/2 tsp cumin seeds
3-4 dry red chilies
Method:
First of all dry roast coriander seeds then cumin seeds and red chilies till aromatic. Remove in a plate to cool. Now dry roast coconut till it slightly change the colour. Let it cool. Now take all the ingredients under for paste section in a grinder jar and using little water, make a smooth paste. Keep it for later use.

I used peanuts with skin if you want then can deskin it then use.
Now take some oil in a wok and add fry chilies in it. Shallow fry at medium flame , flipping in between. Cover with lid to ensure even cooking of chilies. When they become soft and having nice golden spots on it, remove on a plate and keep for later use.

Now in the same wok add some more oil, if needed, add asafetida and mustard seeds. Let it crackle then add curry leaves. Saute for a min and add chopped onions and green chilies. Saute till little golden , add ginger garlic paste and saute for 2 mins.

Now add turmeric powder and Kashmiri red chili powder. Saute for a min then add tamarind pulp. Mix well and add prepared paste. Saute for 3-4 minutes .

Now add required water as per your preference of gravy consistency. Add salt and let it boil. Now add fried chilies and let it simmer for 5-6 minutes. So that chilies absorb all the flavours.

Now switch of the flame. Garnish with roasted sesame seeds and grated coconut. Serve hot with roti / naan/ paratha/ poori or even with plain rice.

It tastes heavenly with all of these accompaniments, just try whatever combo you like.

I kept my gravy of medium consistency but if you want too thick gravy then increase ingredient's quantity in making paste.

* You can adjust tanginess in gravy according to your taste preference by increasing or decreasing tamarind pulp quantity.

Do try this easy yet super delicious nutty flavored side dish and drop down your precious comments and suggestions, they meant a lot.
Happy cooking....